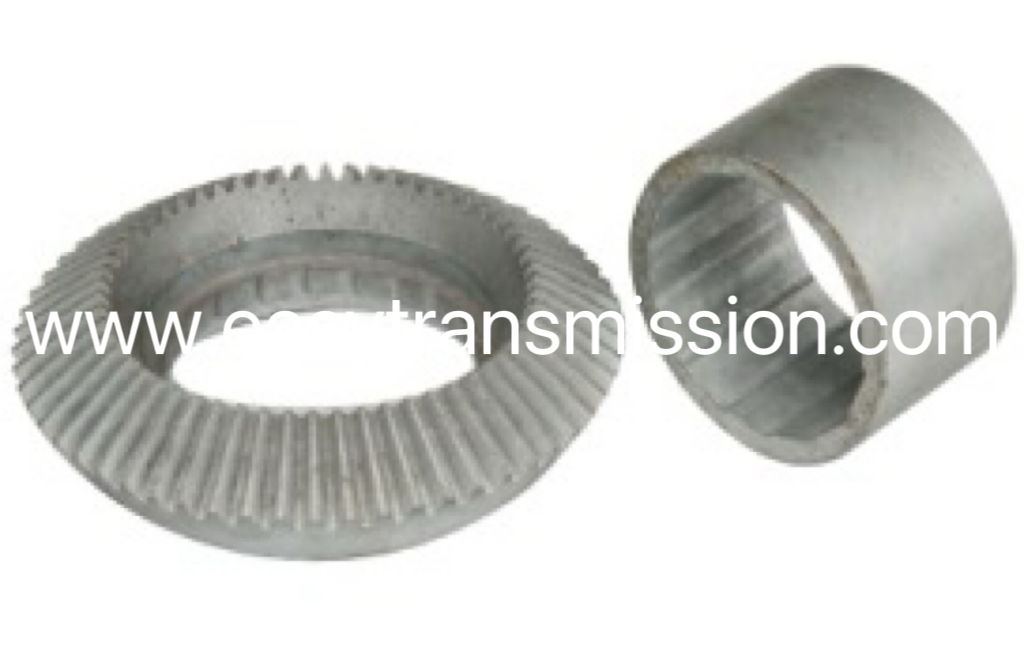
棘轮(ratchet),定义为一种外缘或内缘上具有刚性齿形表面或摩擦表面的齿轮,是组成棘轮机构的重要构件。[1]由棘爪推动作步进运动,这种啮合运动的特点是棘轮只能向一个方向旋转,而不能倒转。
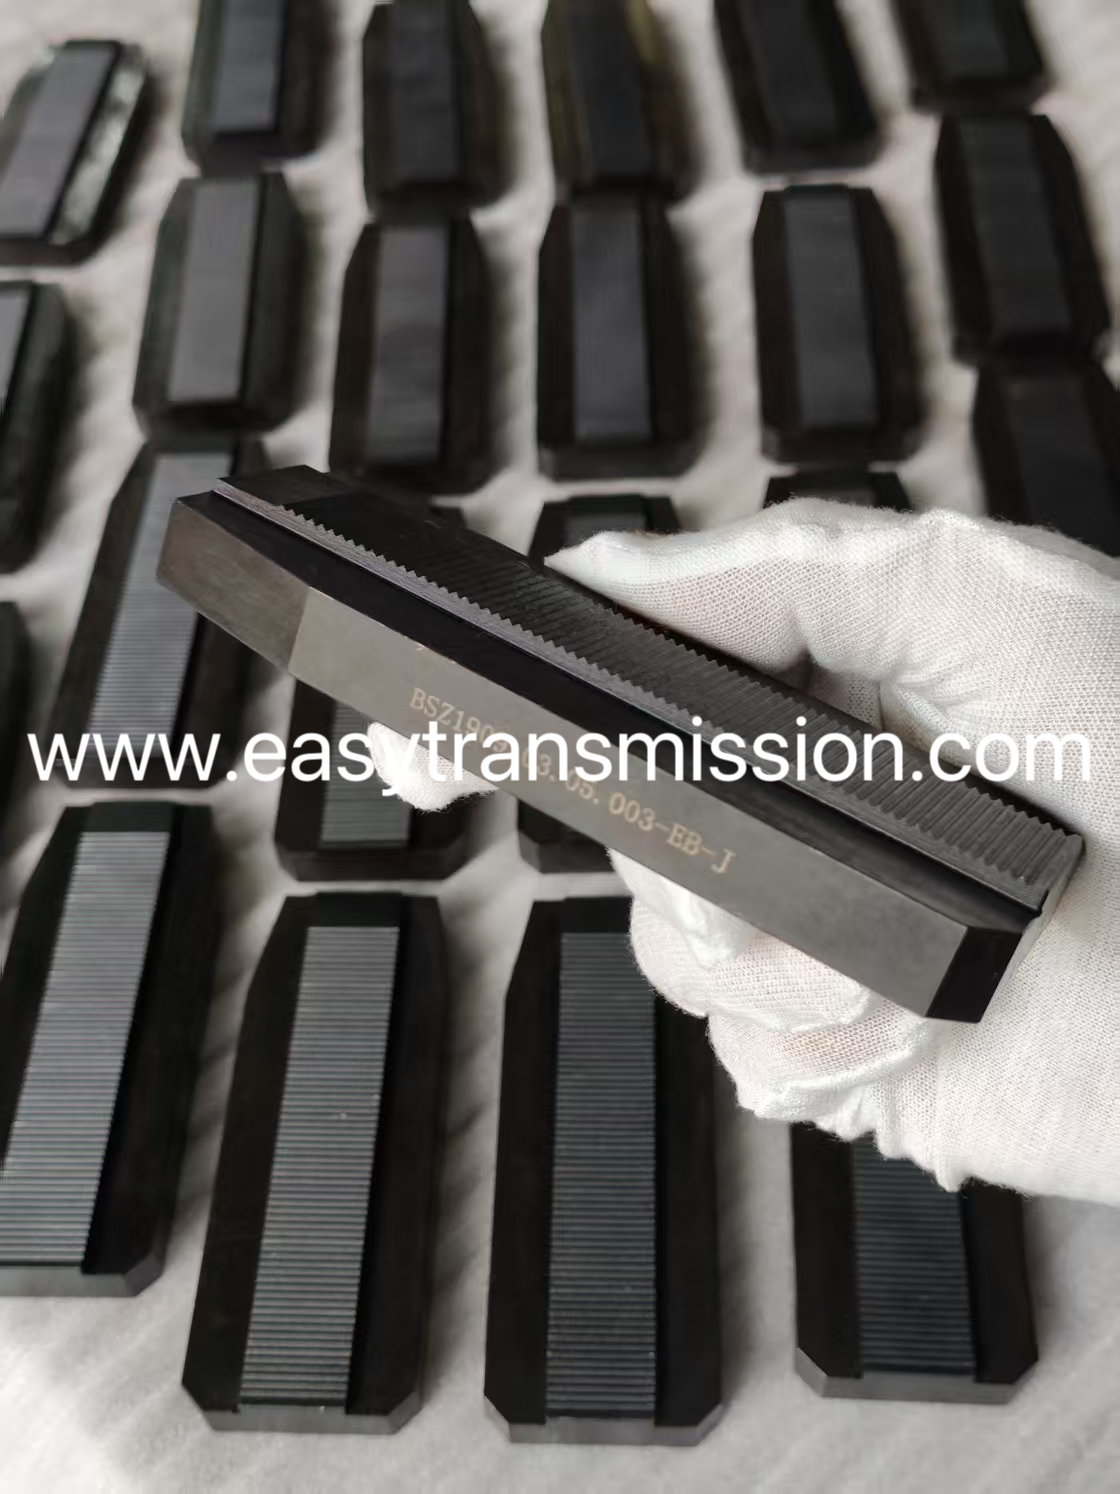
棘齿条是一种结合了棘轮机构和齿轮机构的传动装置。
其主要作用是实现来回或旋转运动,以及控制棘轮的单向、多向或不受力传递。具体应用包括在提升设备中防止重物下落、在钟表中确保发条单向转动等。
棘齿条的生产一般包括以下步骤:
1. 材料选择:根据使用需求,选择合适的钢材,如45钢、40Cr等,以保证其强度、耐磨性等性能。
2. 毛坯准备:通过锻造、切割等方式,将原材料加工成接近最终形状的毛坯,然后进行热处理,消除内应力。
3. 齿形加工:常用铣削法,将毛坯固定在铣床上,用铣刀铣削出齿形,也可采用滚压法或铸造法。
4. 热处理:对加工后的齿条进行淬火、回火等热处理,提高其硬度和耐磨性。
5. 精加工:通过磨削、研磨等工艺,进一步提高齿形的精度和表面质量。
6. 质量检验:使用齿轮检测设备等,对齿条的齿形精度、尺寸精度、表面粗糙度等进行检测,确保符合设计要求。


A ratchet is defined as a gear with a rigid toothed surface or friction surface on its outer or inner edge. It is an important component of a ratchet mechanism. It is driven by a pawl to make a stepping motion. The characteristic of this meshing motion is that the ratchet can only rotate in one direction and cannot reverse.
A ratchet is a transmission device that combines a ratchet mechanism and a gear mechanism.
Its main function is to achieve back and forth or rotational motion, and to control the unidirectional, multi-directional or force-free transmission of the ratchet. Specific applications include preventing heavy objects from falling in lifting equipment, ensuring unidirectional rotation of the spring in clocks, etc.
The production of ratchet generally includes the following steps:
1. Material selection: According to the use requirements, select suitable steel materials, such as 45 steel, 40Cr, etc., to ensure its strength, wear resistance and other properties.
2. Blank preparation: Through forging, cutting and other methods, the raw materials are processed into blanks close to the final shape, and then heat treated to eliminate internal stress.
3. Tooth processing: The milling method is commonly used. The blank is fixed on the milling machine and the tooth shape is milled out with a milling cutter. The rolling method or casting method can also be used.
4. Heat treatment: The processed rack is subjected to heat treatment such as quenching and tempering to improve its hardness and wear resistance.
5. Finishing: Through grinding, lapping and other processes, further improve the accuracy and surface quality of the tooth shape.
6. Quality inspection: Use gear testing equipment to test the tooth shape accuracy, dimensional accuracy, surface roughness, etc. of the rack to ensure that it meets the design requirements.